Deliver photos to a listing editor
Convert your shots to the format specified by the listing form and confirm that one export opens before sending the set.

Select your images and a supported output format, then download each converted file.
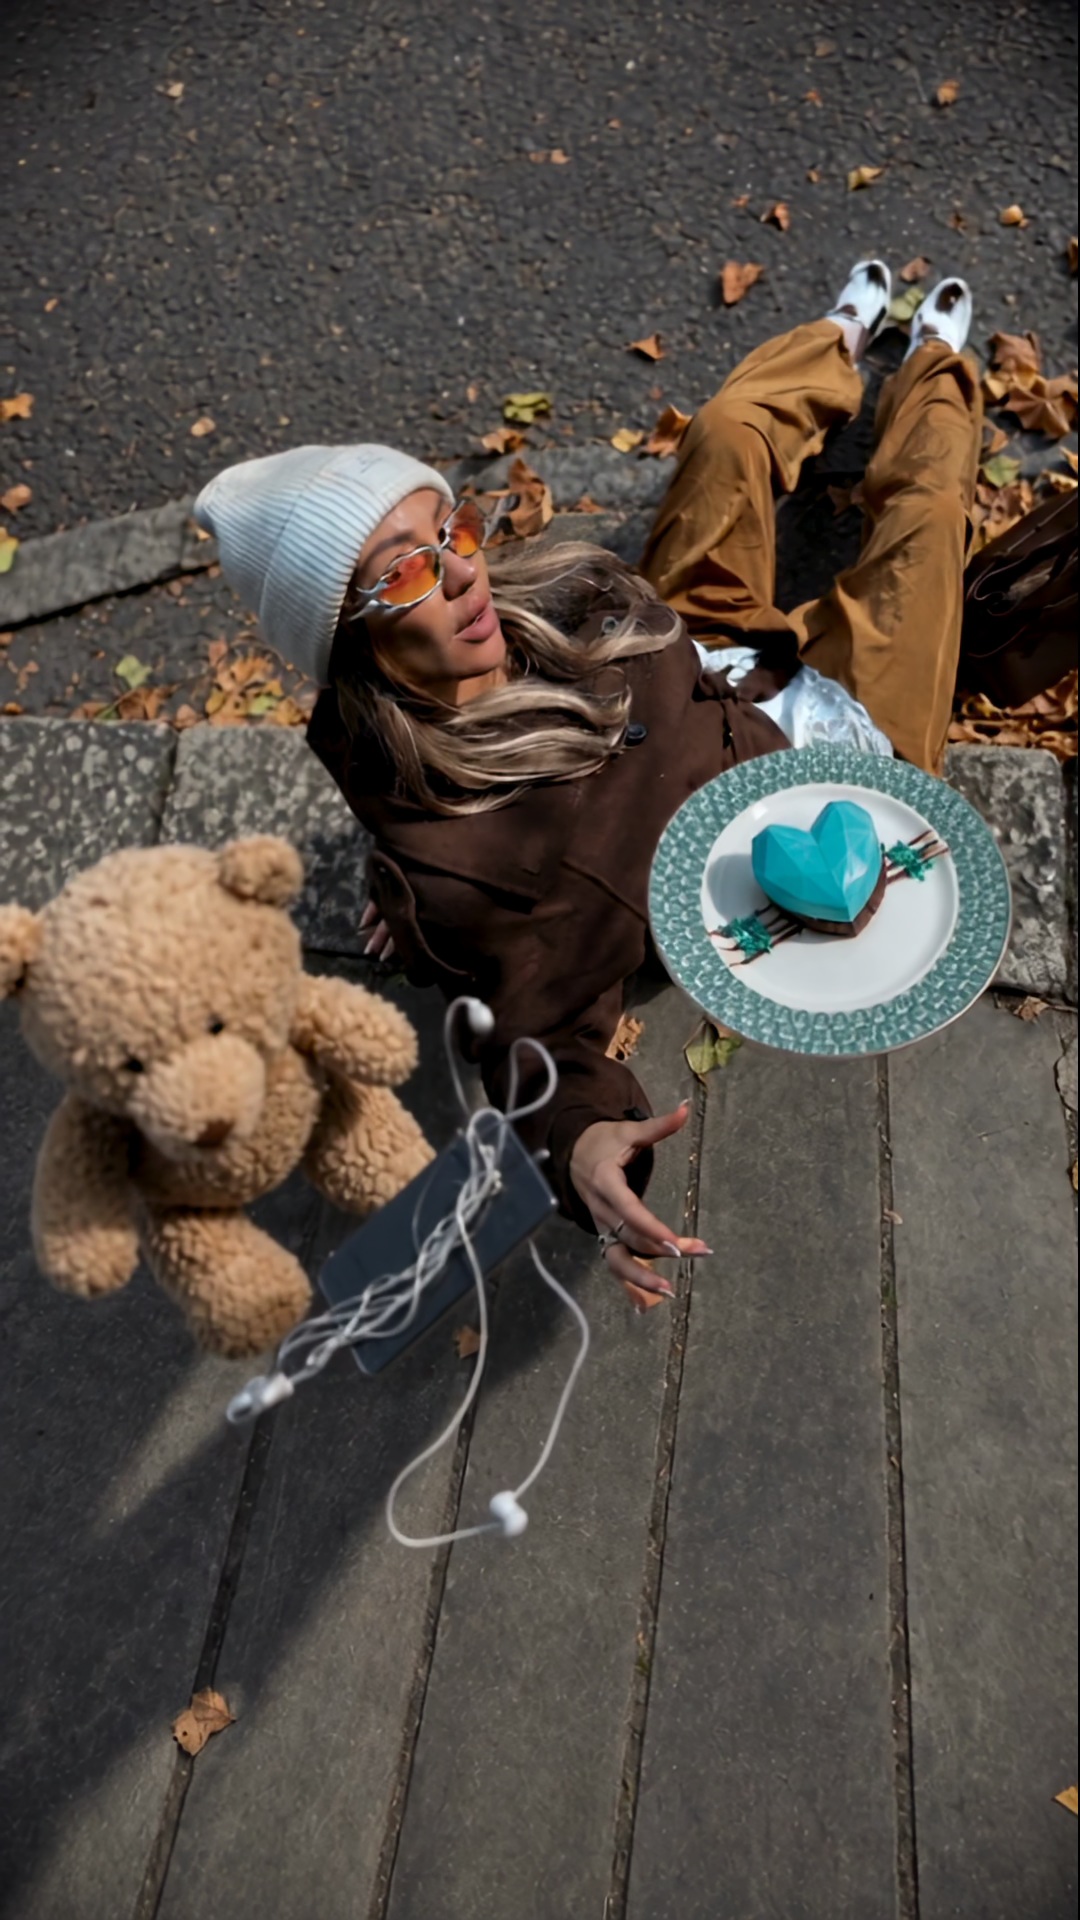
Start with the original JPEG and convert it to WebP. Zoom in on the accessories against the pavement to check the fine detail.
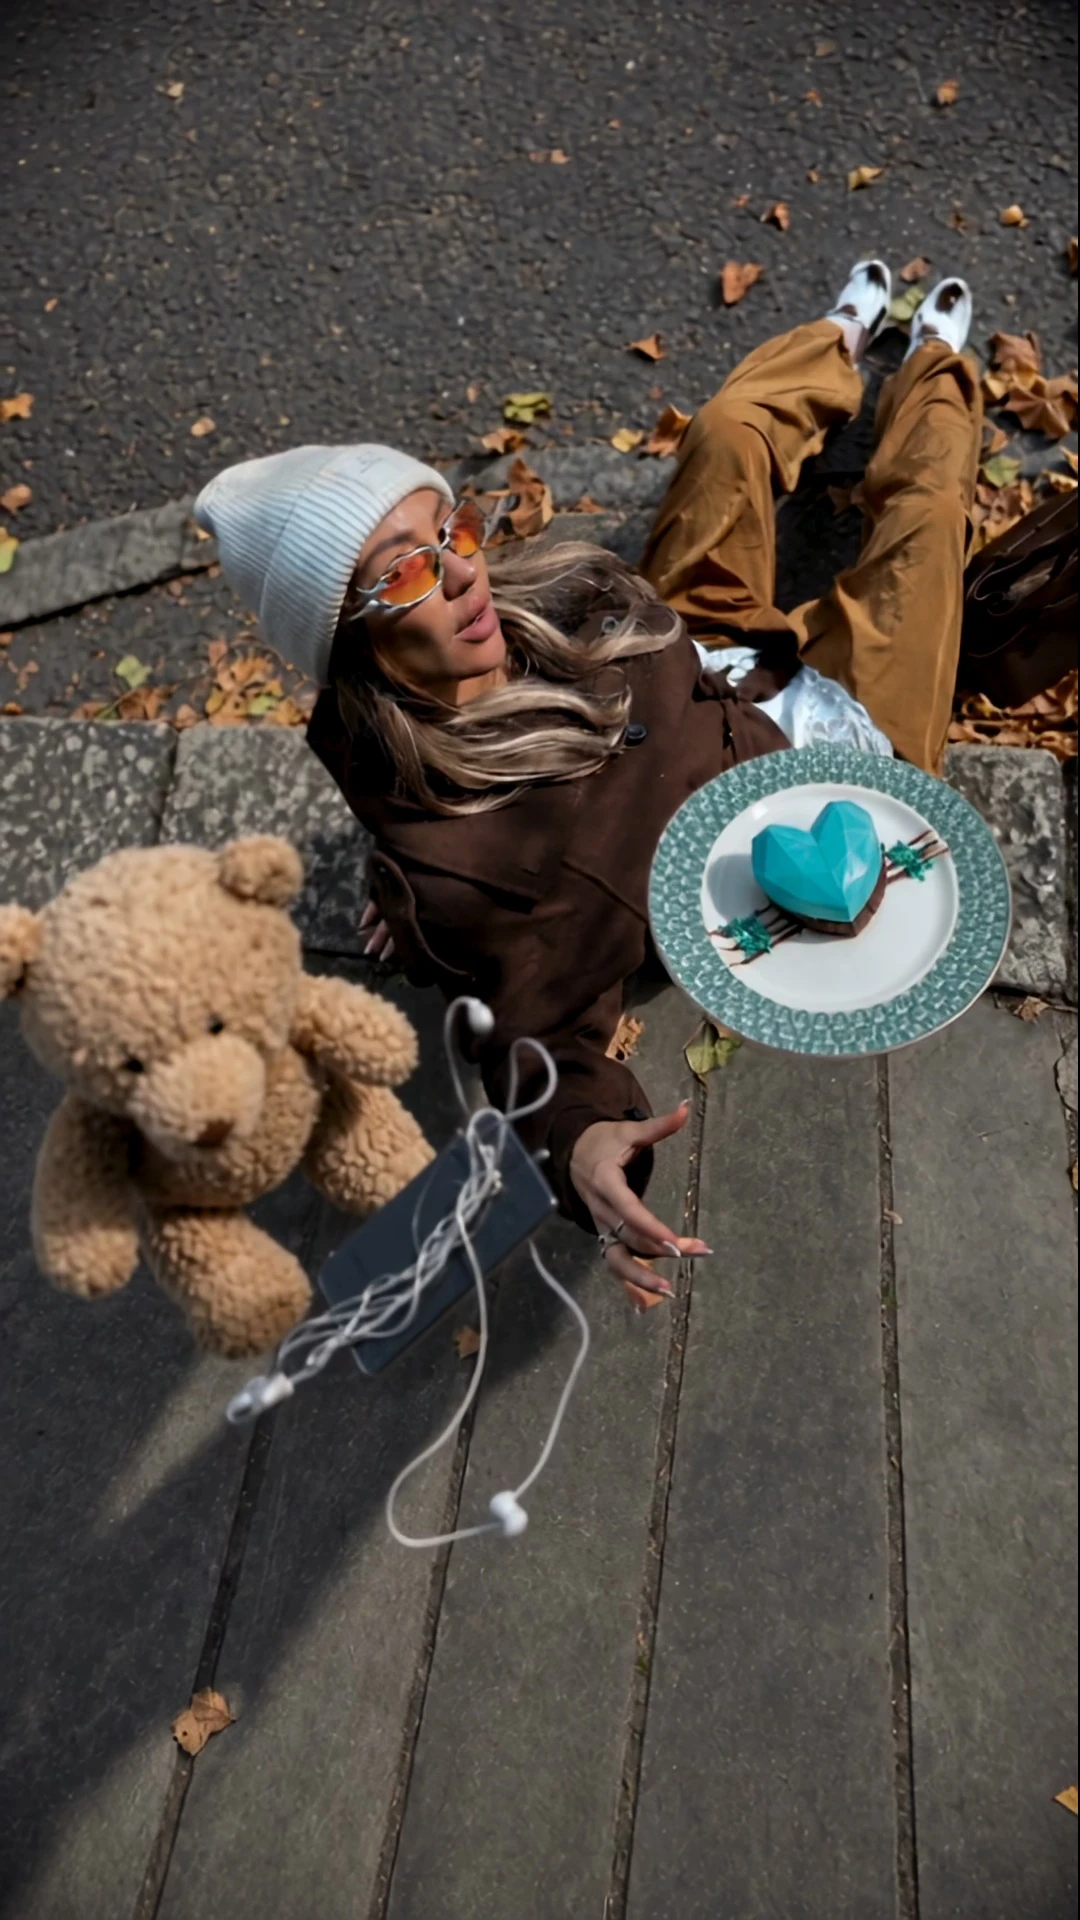
Choose one or more images that your browser can open.
Choose the type your next editor accepts. Start with PNG for line art or a transparent graphic, or JPEG for an opaque photo.
Convert the batch, compare reported file sizes and save the files using their individual download links.
A product shot, a transparent symbol and a web photo make different demands on the output format.
Convert your shots to the format specified by the listing form and confirm that one export opens before sending the set.
Choose PNG for a logo that needs clear edges when placed over a coloured background.
Try WebP on a photograph, compare it with your original at display size and check that your publishing system accepts it.
Create a JPEG that colleagues can open in their usual photo viewer. Retain the source for future edits.
PNG preserves transparency. JPEG suits photographs over an opaque background. Check the exported file type and open one result before converting the rest of a batch.
Each output uses the source image’s pixel dimensions. Use the social image resizer for a different frame.
The converter lays JPEG images over white before encoding them. Select PNG to retain transparent areas.
Reading and writing AVIF require different browser features. If the browser cannot encode your selected type, choose another output format.
Select several image files together, choose one output format and run the conversion. Each image gets its own download link.
The tool keeps the original base name and replaces the extension with the selected format. A JPEG called look-01.jpg becomes look-01.webp when you choose WebP.
Lower the quality setting and convert again. If you have a specific file-size ceiling, use the image compressor to set the target in KB.
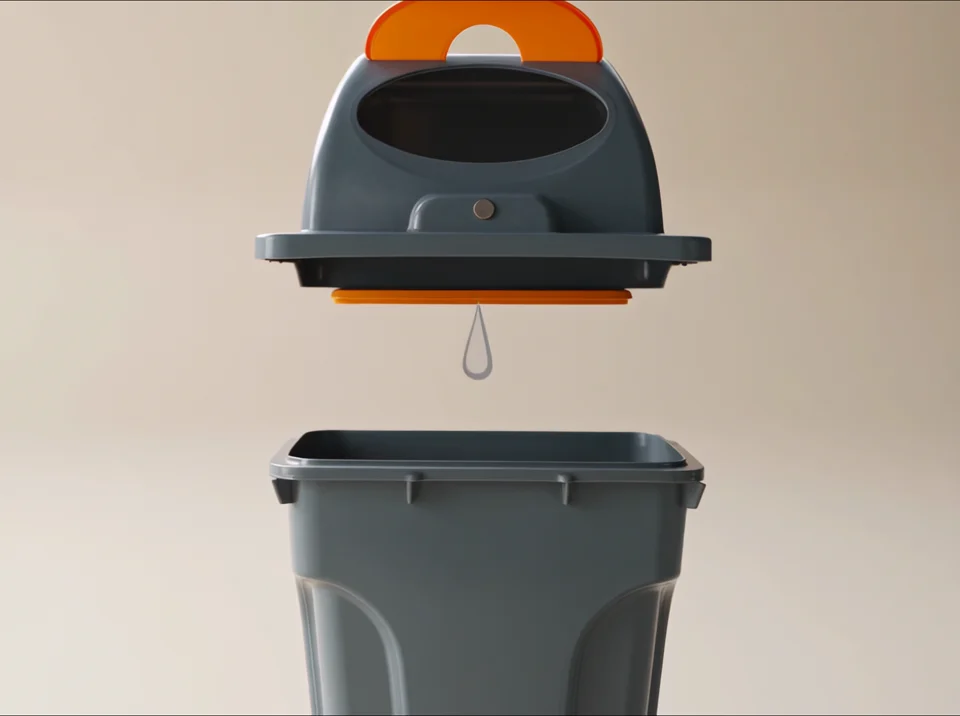
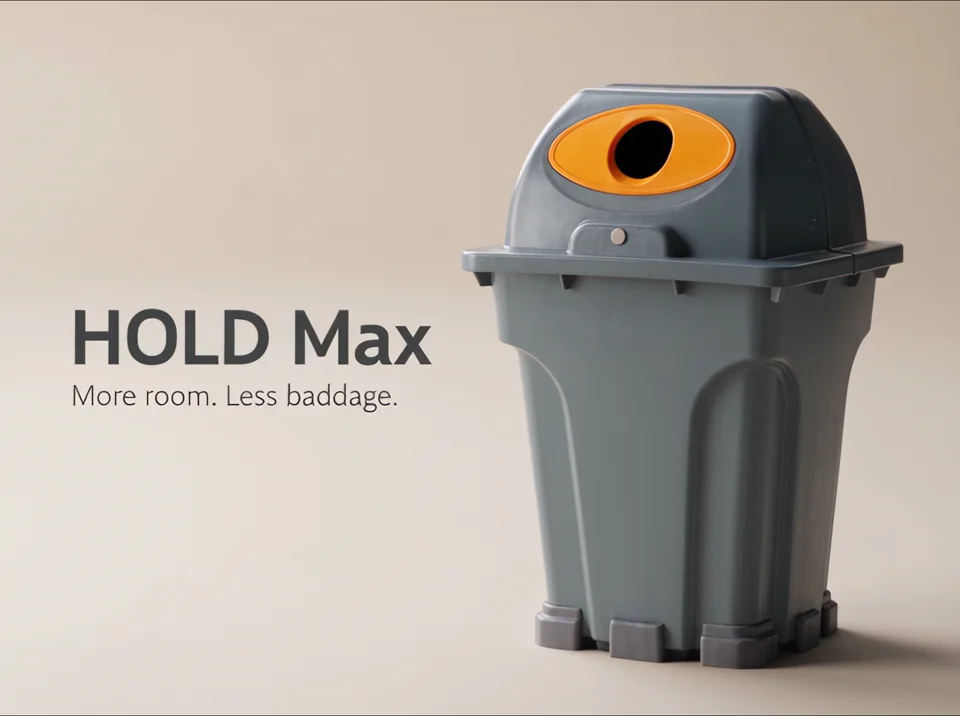
For a cleaner product presentation, see how Pure Showcase isolates shape and surface with simple scenes and precise lighting.
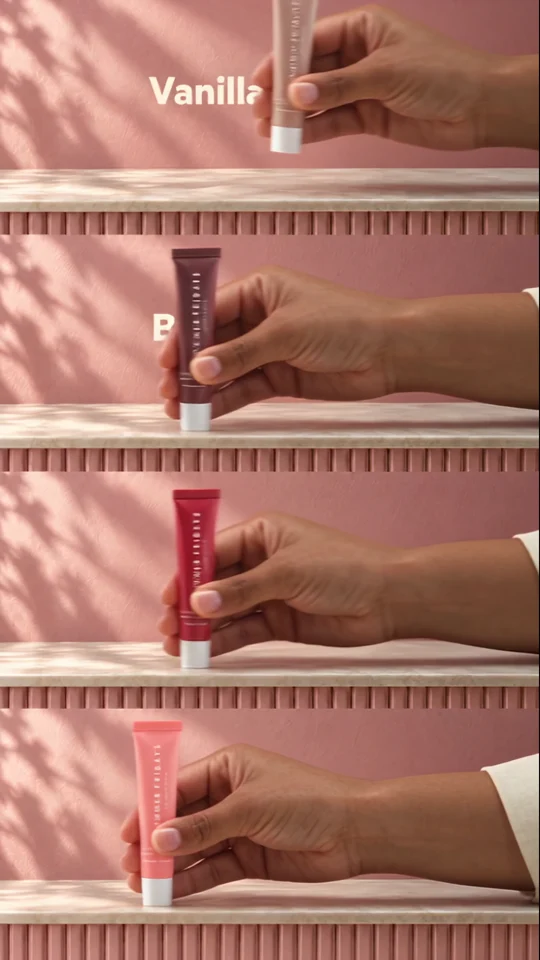
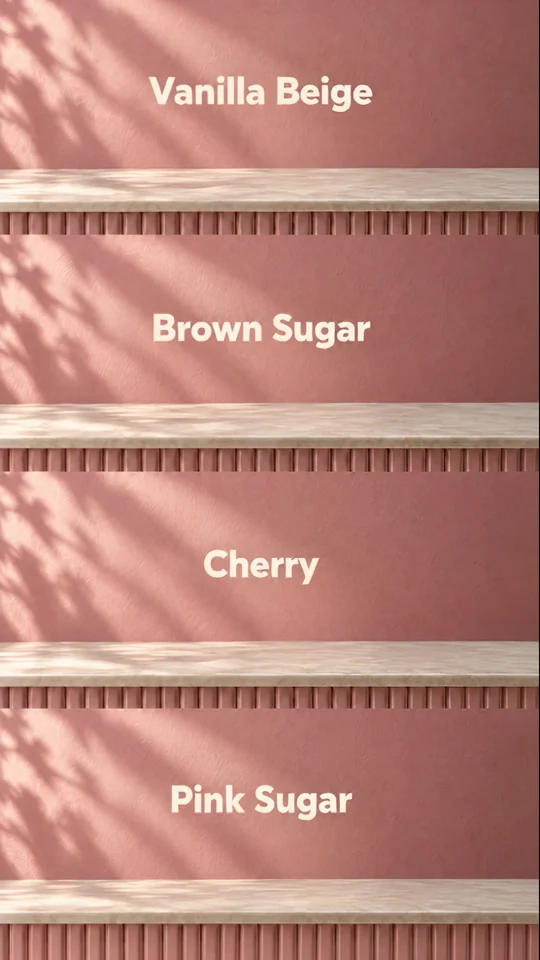
Four colourways fill four bands. Each shade gets a name so a shopper can tell the variants apart.
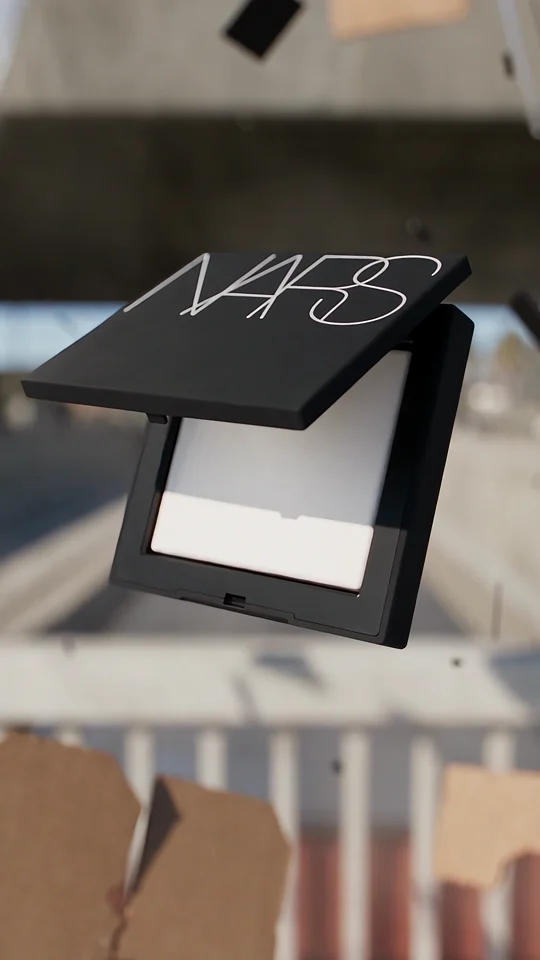

Compare the lettering on the compact with the isolated wordmark in the final shot.
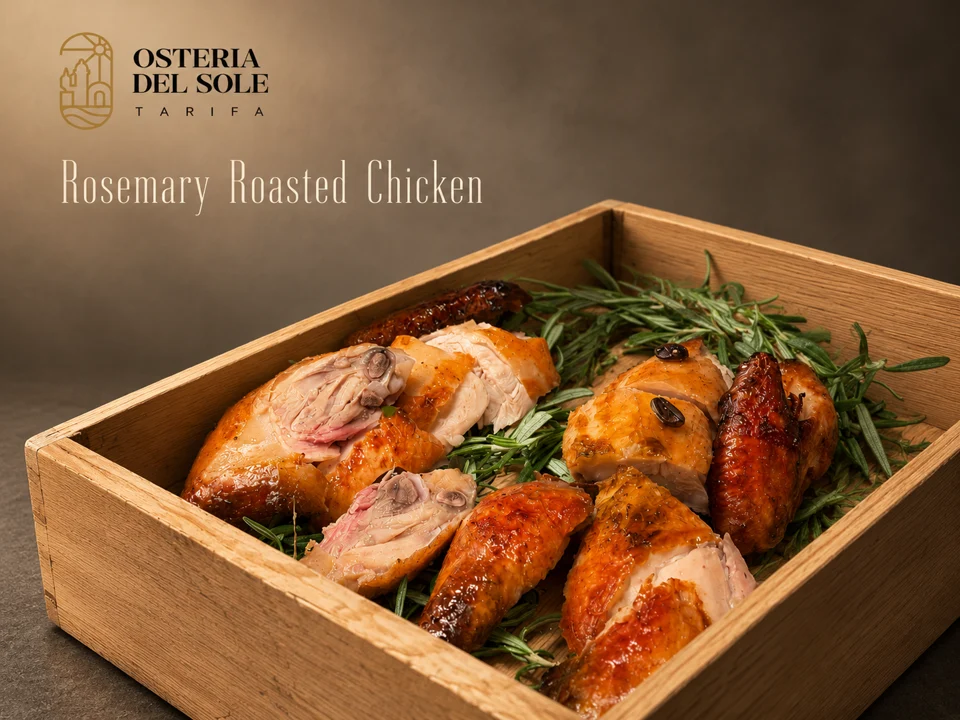
Look where the dish name sits against the food photograph. The background behind the type affects how easily you can read it.