Prepare a product feed post
Pick a square or portrait frame and inspect the space around packaging labels.

Choose a placement. Fill crops the edges, while Fit adds padding to keep the whole picture.
The 4:5 crop centres the model and sunglasses while keeping the sunlit terrace in view. Compare it with the full portrait before exporting your own crop.


Choose the source images and the preset for the post, story, thumbnail or link card.
Fill centre-crops to cover the frame. Fit keeps the complete photo and adds white space where needed.
Check faces, lettering and product edges at the intended display size before using the downloads.
Decide which detail must survive the crop. Run the tool again with a different preset for the next placement.
Pick a square or portrait frame and inspect the space around packaging labels.
Try Fill on a vertical product shot or Fit to preserve the whole width of a group photo.
Use a wide frame and check that the subject stays legible when the picture is small.
Choose the Open Graph preset when a landscape photograph should lead the page preview.
Choose Fit when the outer edges matter. Choose Fill when there is enough space to crop around the product. Compare both exports at phone size, especially around labels and packaging.
Fit preserves the source proportions and fills spare space with white. Fill removes the bars by cropping the outer edges.
One preset applies to all the selected photos in each run. Select the next preset and resize again for another placement.
Enlarging the file adds pixels. Use a larger source photo if the subject looks soft in the new frame.
Yes. Select multiple files and choose one preset and fit mode. The tool produces a separate JPEG download for each file.
The download name includes the output width and height. A file exported for a 1080 × 1350 placement ends in -1080x1350.jpg.
The crop is centred automatically. Prepare an off-centre crop in an editor first, or choose Fit to retain the whole source image.
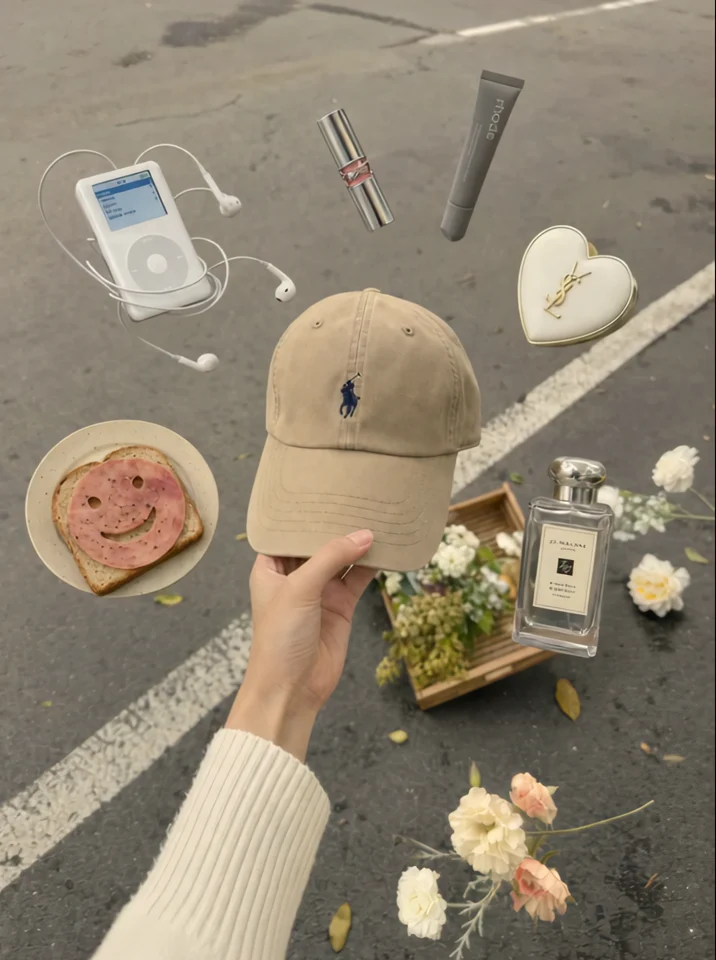
Float in Hand gives one item a central position with the others arranged around it. It is a useful reference when deciding which product must survive your tightest crop.
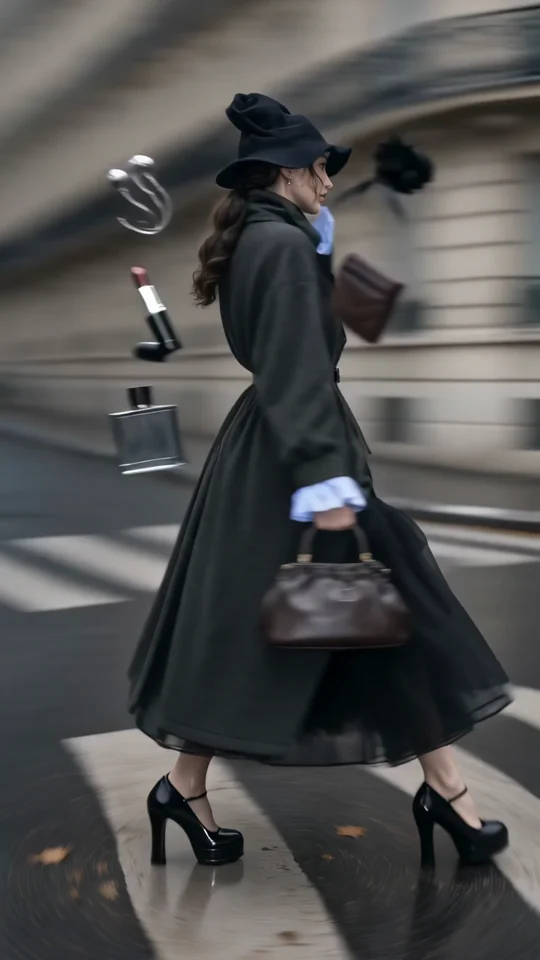
Follow the turning outfit from head to hem. Check the space that the vertical frame leaves around the garment.
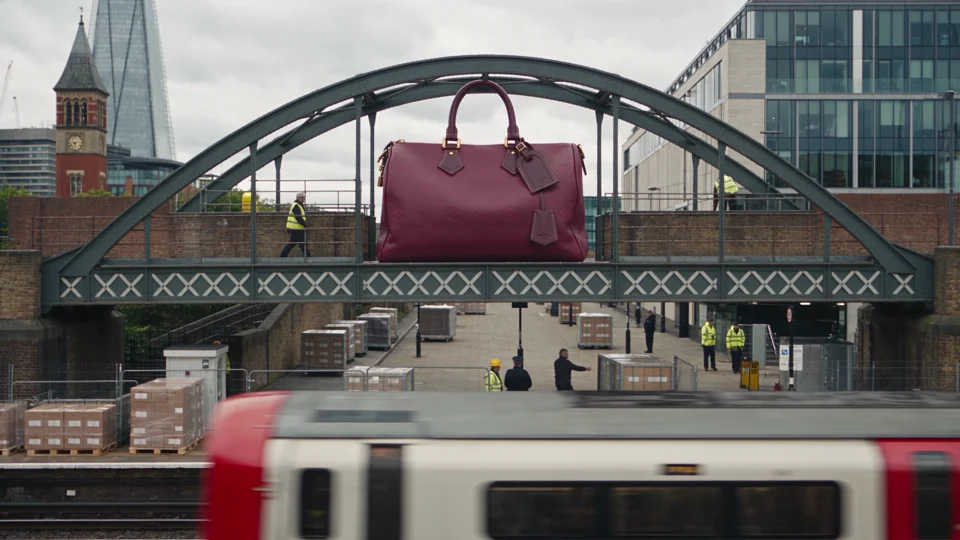
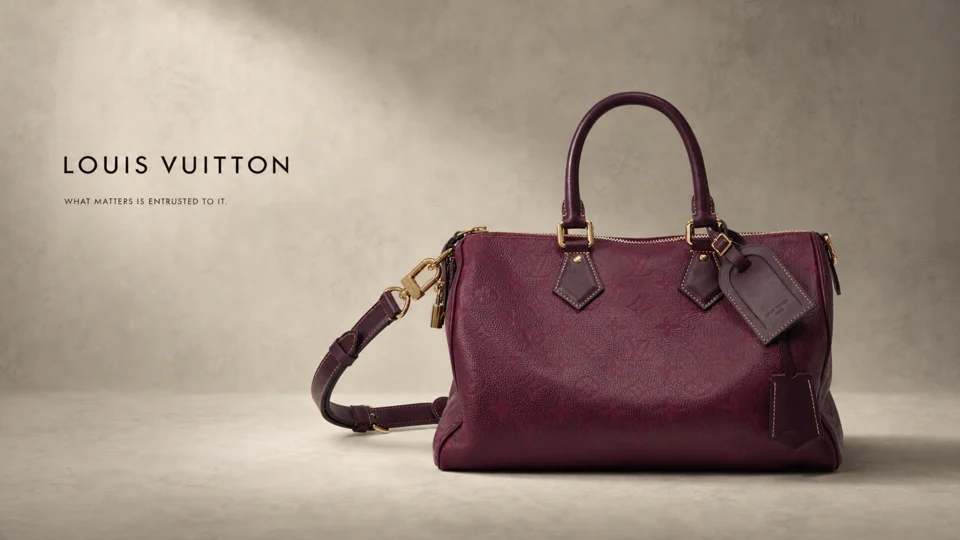
Compare the handbag spanning a bridge with the same bag in the studio. Its outline makes it recognisable at both scales.

Watch the model turn the sunglasses toward the camera. The frame keeps the accessory clear of the edges.