Show a product from four angles
Combine a front view, side view, close-up and scale reference in a two-by-two sheet.

Choose a 2 × 2 or 3 × 3 grid and set the gaps and background before saving your collage.
Follow the ribeye from the pan to the table. Four square crops and a narrow warm border turn the cooking sequence into a single recipe card.
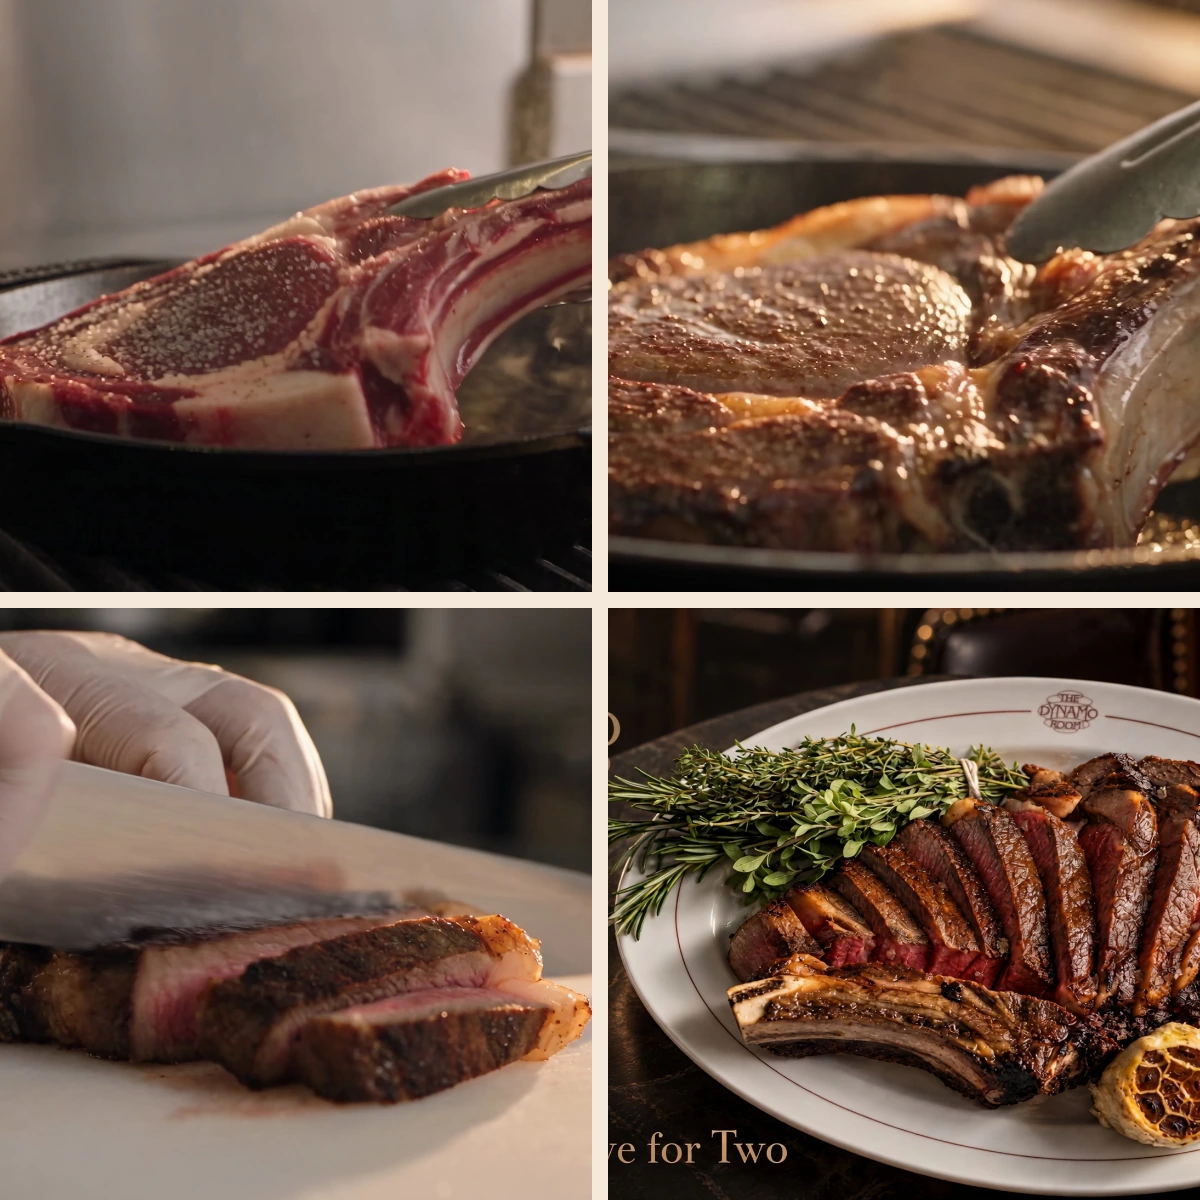
Select up to four photos for a two-by-two grid or up to nine for a three-by-three grid.
Pick the grid, gap width and background colour. The background shows through gaps and unused cells.
Check faces, product edges and cell order in the preview. Save the finished square as a PNG.
A grid is easiest to read when each cell contributes a different detail at the same viewing size.
Combine a front view, side view, close-up and scale reference in a two-by-two sheet.
Give a client nine looks in one PNG so they can refer to a row and column when giving feedback.
Keep framing and lighting consistent across the individual shots. Use one background colour between the options.
Pair wider scene photos with details. Put the clearest overview in the first cell to orient the viewer.
The grid centre-crops each photo to fill its cell. Leave space around tall or wide products and place their key details near the middle before building the sheet.
The output is a 1200 × 1200 PNG. Each cell gets a smaller share of that canvas in the three-by-three layout.
The grid uses the first four or nine files, depending on the layout. Extra files do not get another page.
Choose a background colour and a gap greater than zero, then build the collage again to see the change.
The first selected image goes in the top left. The tool fills the rest of that row from left to right before moving to the next row.
Unused cells show the chosen background colour. Add more photos or choose a smaller grid if you want a filled collage.
The collage downloads as one PNG. To divide a finished layout into separate square JPEGs, use the grid splitter.
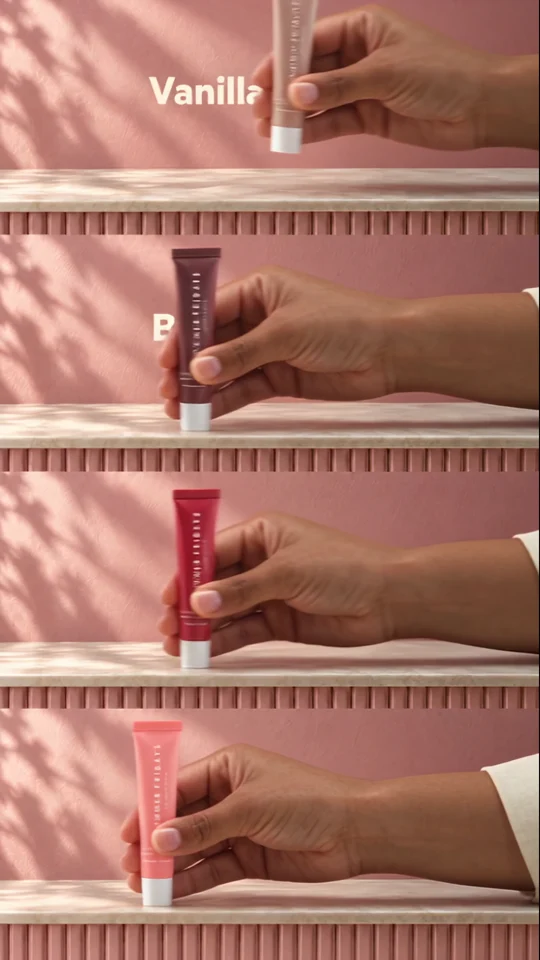
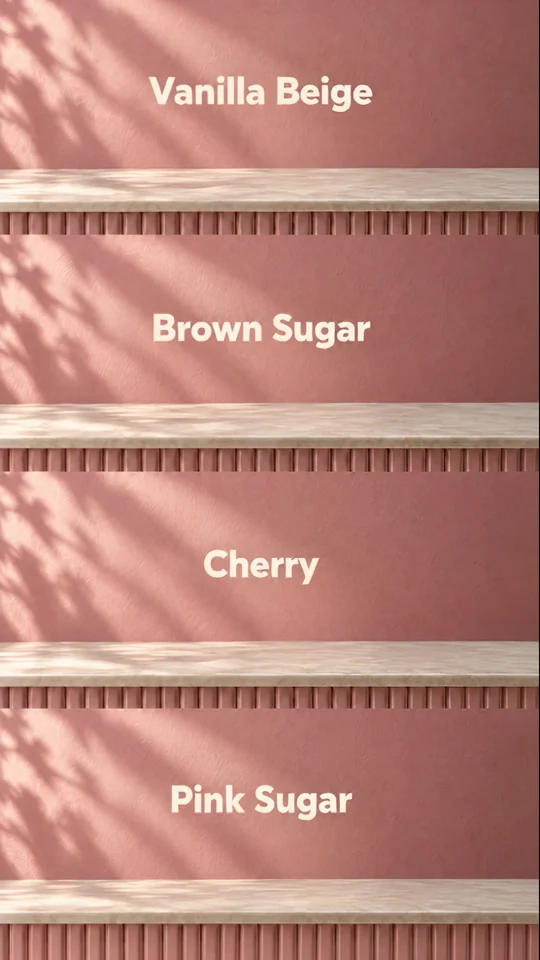
If your sheet compares four colourways, open Swipe Reveal to see those same kinds of products introduced one by one, with each colour and name in view.

The presenter lines up three jars. Give each product its own short line when you plan a caption or voiceover.

Watch the overhead arrangement. The model and accessories give the eye a fixed point as the scene moves.
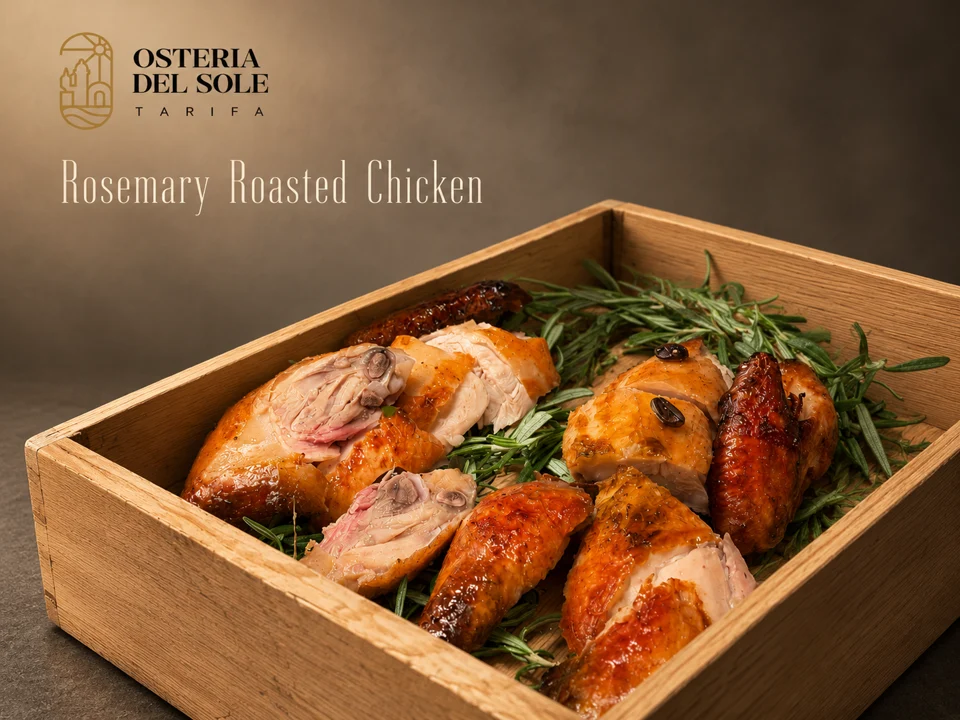
Look where the dish name sits against the food photograph. The background behind the type affects how easily you can read it.