Create a panoramic carousel
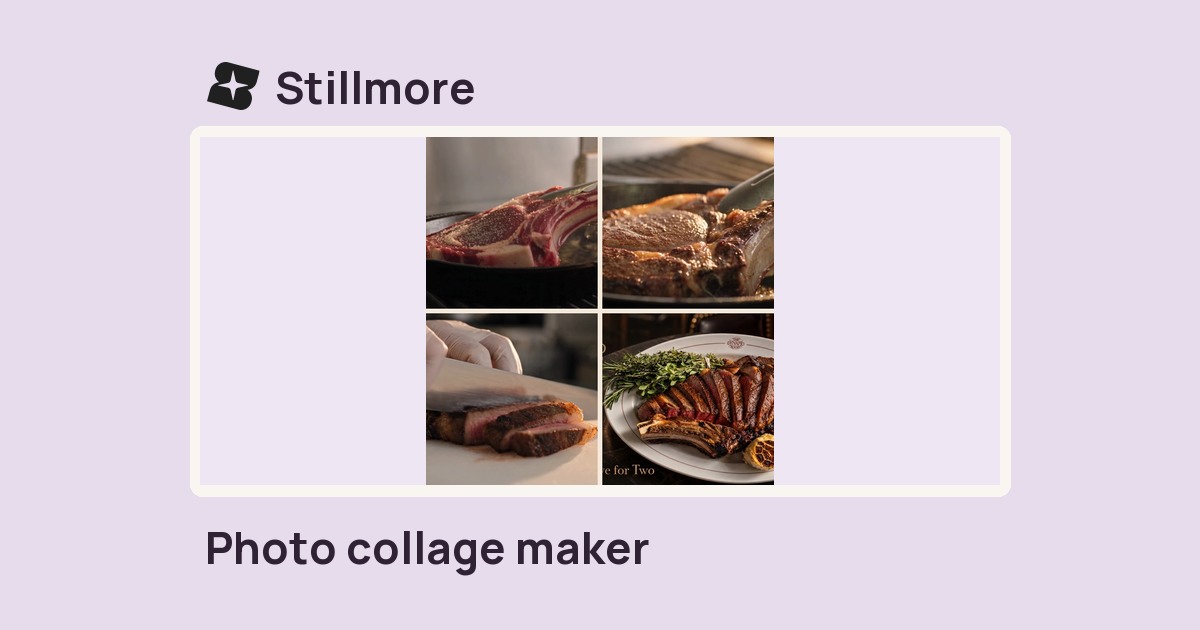
Choose three across and check the opening tile on its own. It needs to work before anyone swipes.

Choose three tiles across or a square grid, then save the numbered JPEGs in sequence.
The arches continue across the three tiles, with the burgundy bag in the centre. This preview shows the exported squares in left-to-right order.
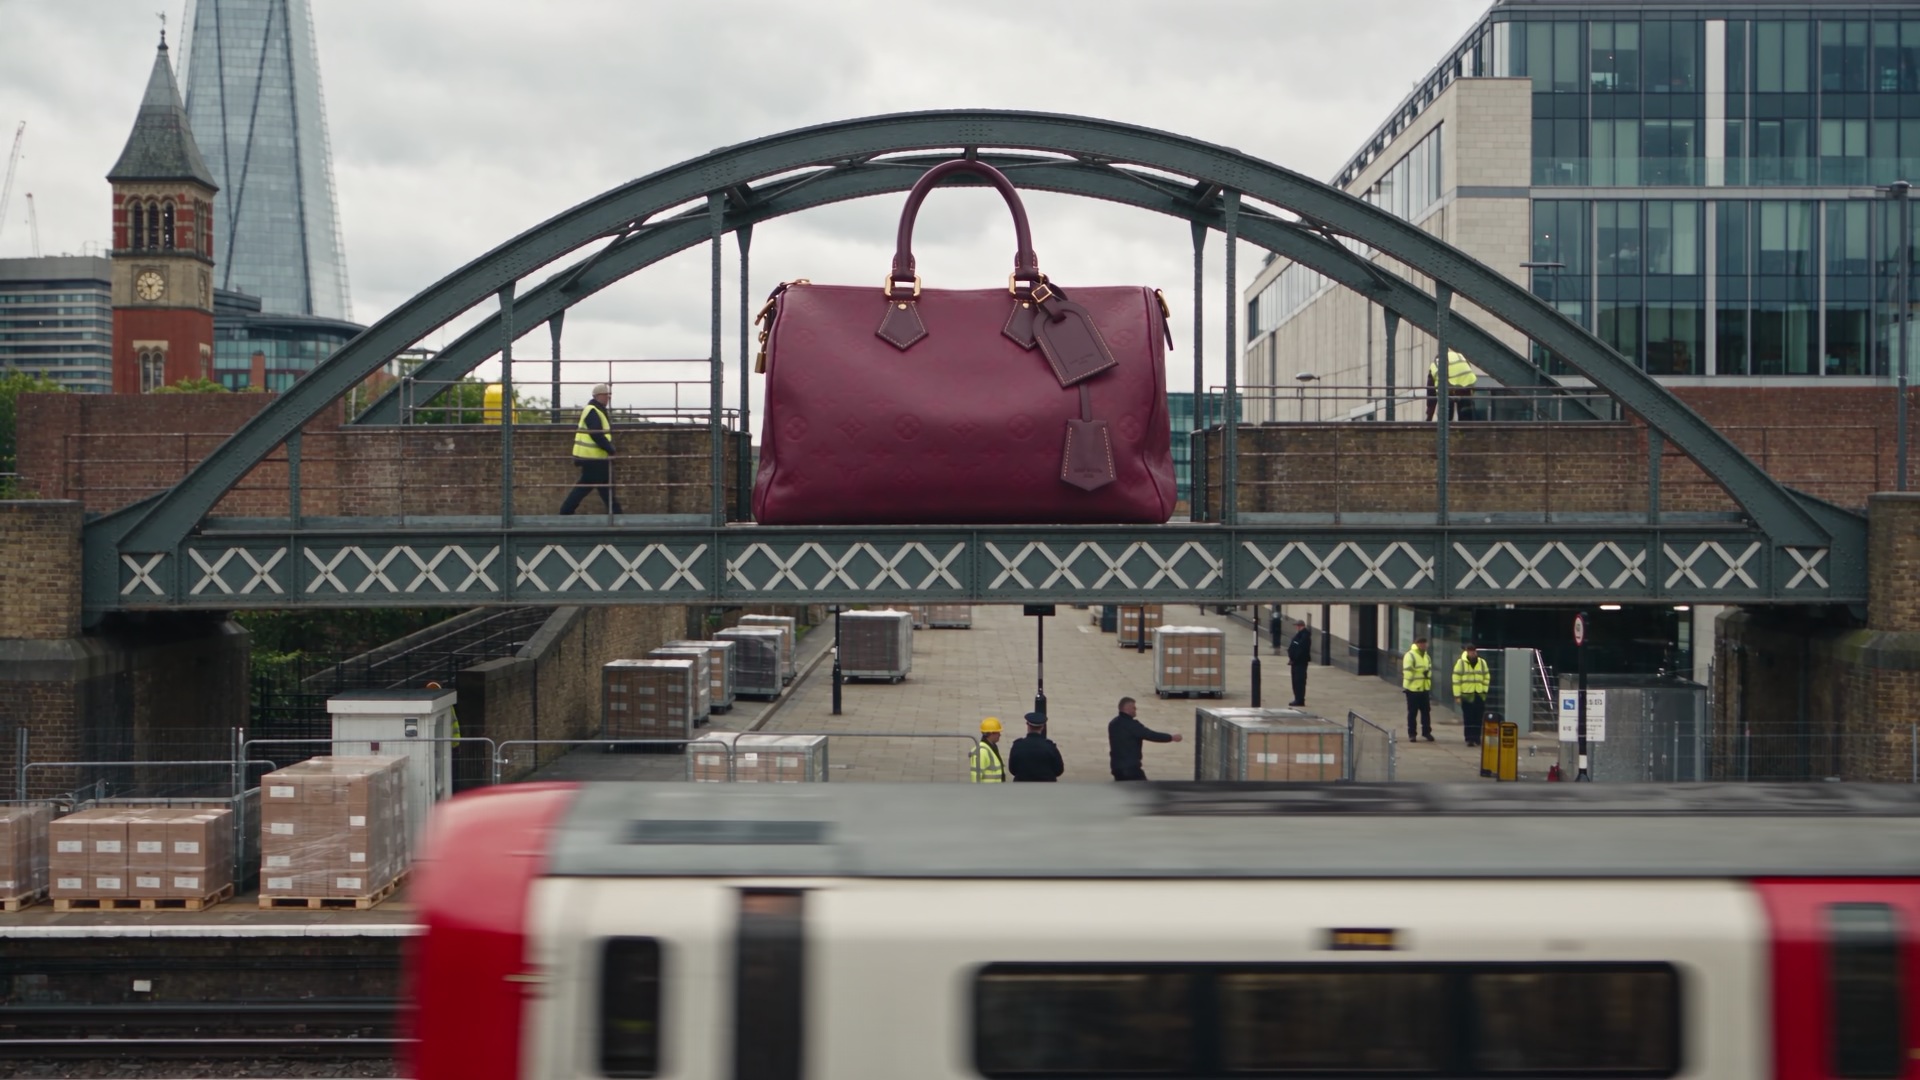
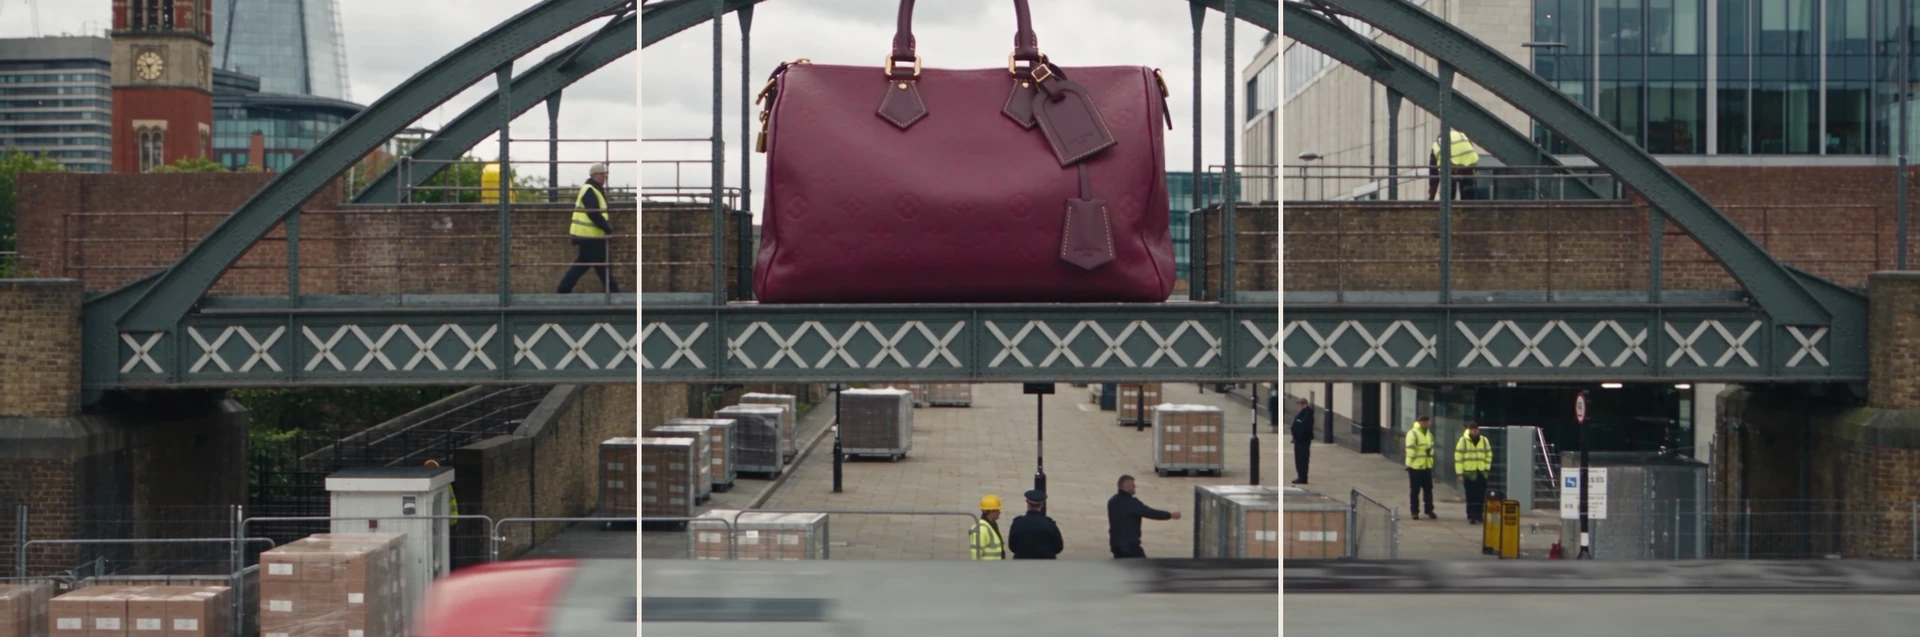
Use a wide scene for a three-across strip or a square composition for a four- or nine-tile grid.
Choose the layout and a square tile size of 1080, 1440 or 2048 px.
Check faces, logos and lettering where the cells meet. Save the numbered JPEGs.
Position the important details inside individual cells while a larger shape or scene continues across the grid.
Choose three across and check the opening tile on its own. It needs to work before anyone swipes.
Keep a short collection name inside a single tile so separate crops preserve its lettering.
Use the four-tile layout when a repeating pattern or facade can continue across two rows.
Give the scheduler the numbered images together with the intended arrangement.
Use the preview to match each numbered tile to its position. Check the crop on your own profile before posting the full set. A different thumbnail aspect ratio can cut into the edges.
Numbering starts at the top left, moves across each row and then continues on the next row.
The picture is centre-cropped to fill the full grid before slicing. Match its proportions to the chosen arrangement to keep more of the edges.
The numbers describe positions in the design. Publishing order depends on whether you are arranging a carousel or a profile grid.
Each tile downloads as a separate square JPEG. The selected tile size applies to every file in the set.
Look at the grid preview before downloading. If a seam cuts through a face, reposition the subject in the source image and split it again.
Yes. Choose the three-across layout, then use its three numbered tiles from left to right when arranging the carousel.
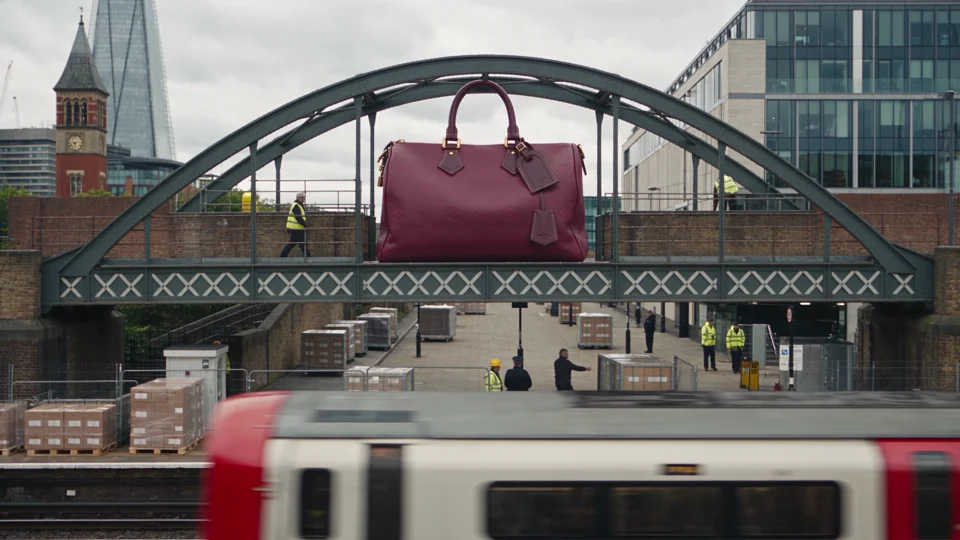

A connected grid works best with an image worth exploring in pieces. Product World shows how a single product can become the setting for a larger scene.
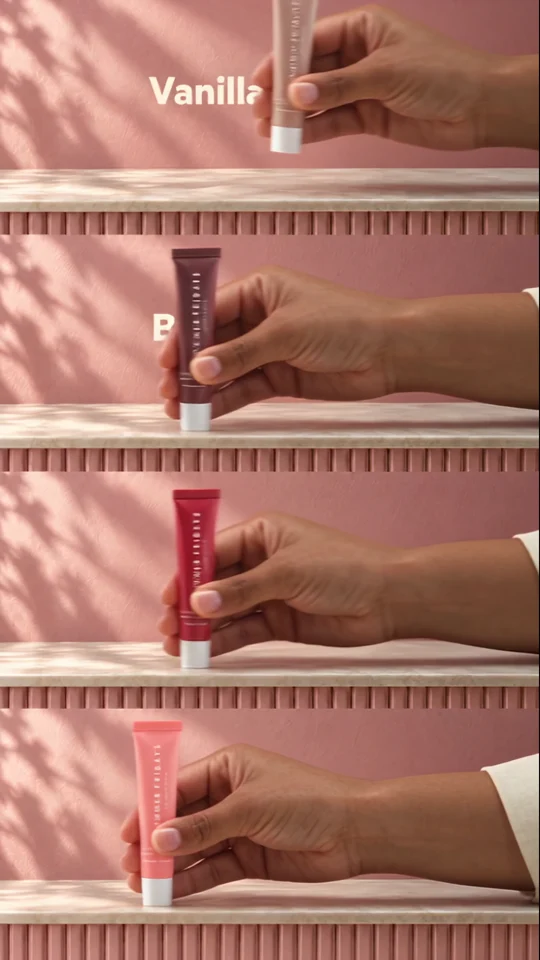
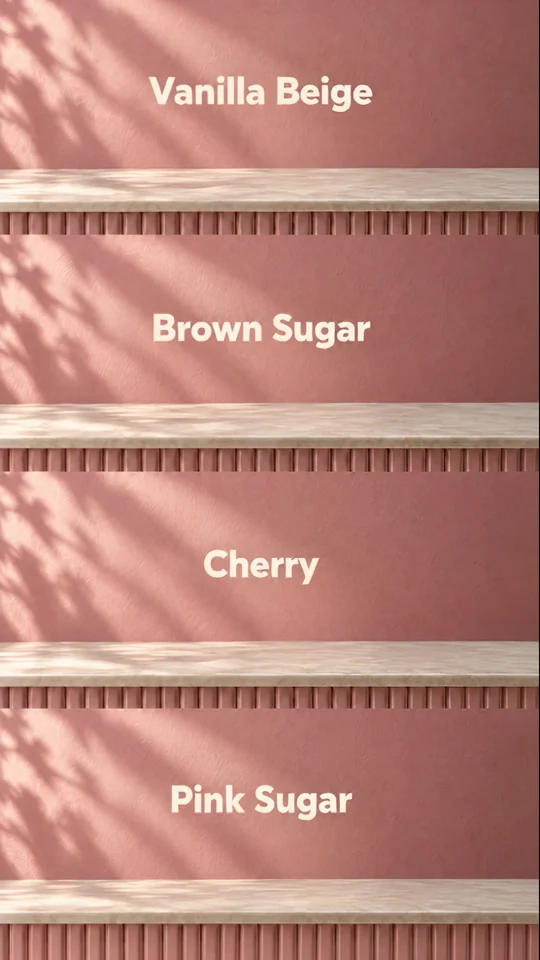
Four colourways fill four bands. Each shade gets a name so a shopper can tell the variants apart.

Watch the overhead arrangement. The model and accessories give the eye a fixed point as the scene moves.
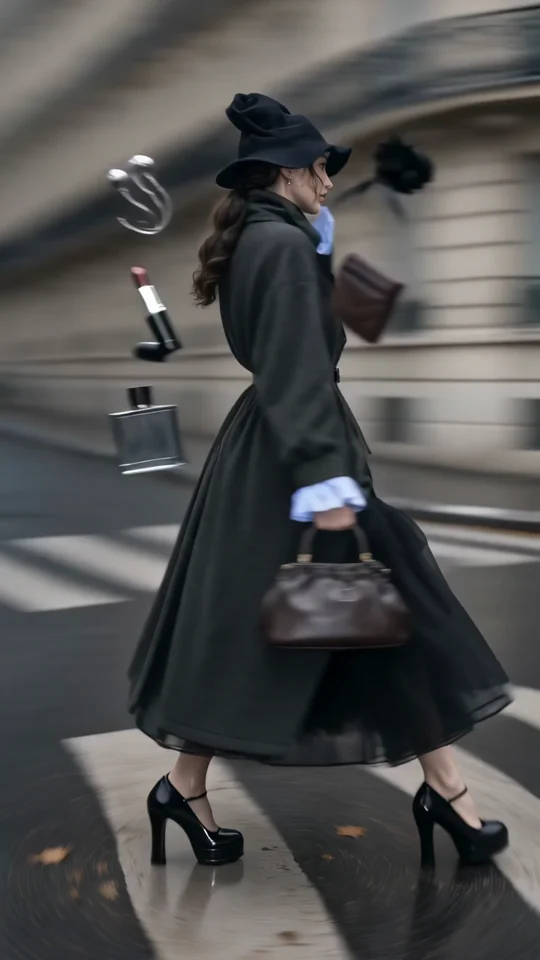
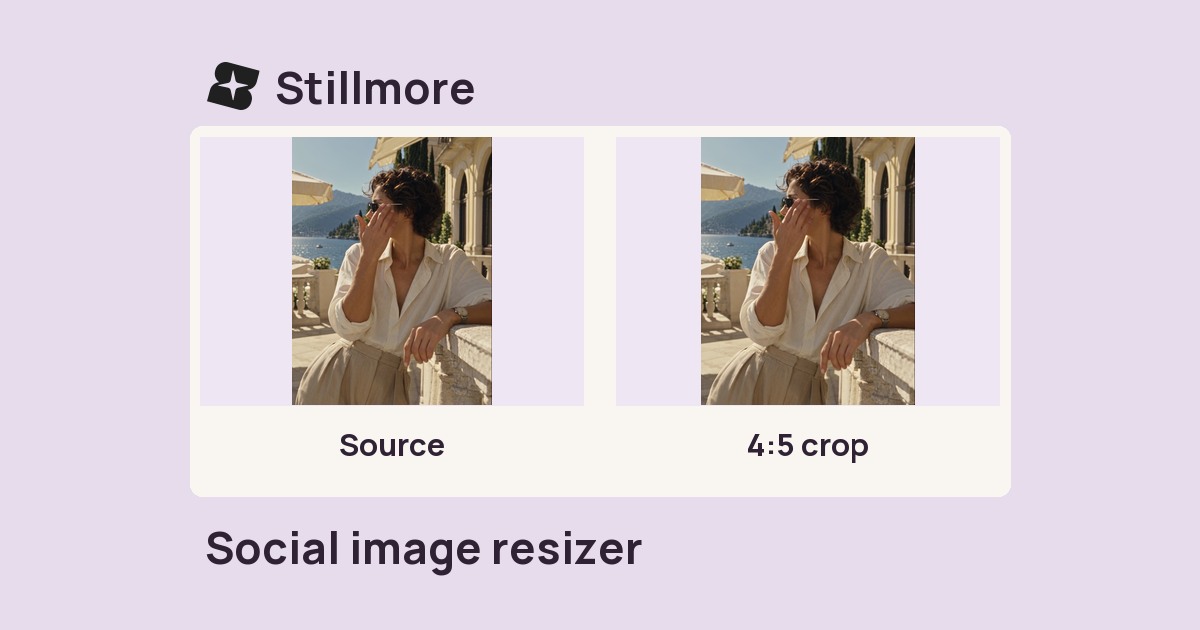
Follow the turning outfit from head to hem. Check the space that the vertical frame leaves around the garment.